Secure Chicken Run Enclosure
Highlighted under: Local Kitchen
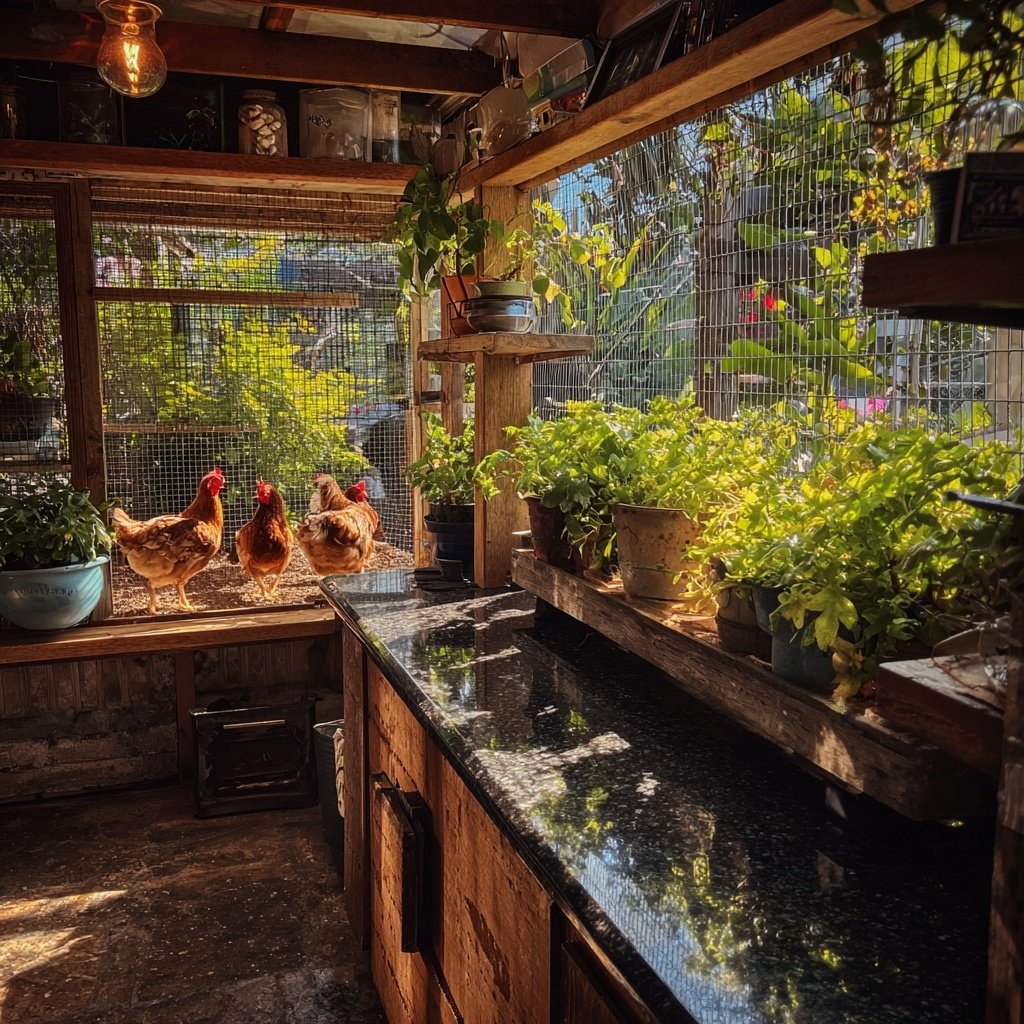
I love creating safe spaces for my chickens, and building a secure chicken run enclosure has been one of my favorite projects. With the right materials and a little bit of elbow grease, I can ensure my feathered friends have a safe place to roam and enjoy the outdoors. This project not only gives my chickens a safe environment but also adds an aesthetic element to my backyard. Plus, it's an enjoyable hands-on task that I recommend to any fellow chicken enthusiasts looking to improve their setup!
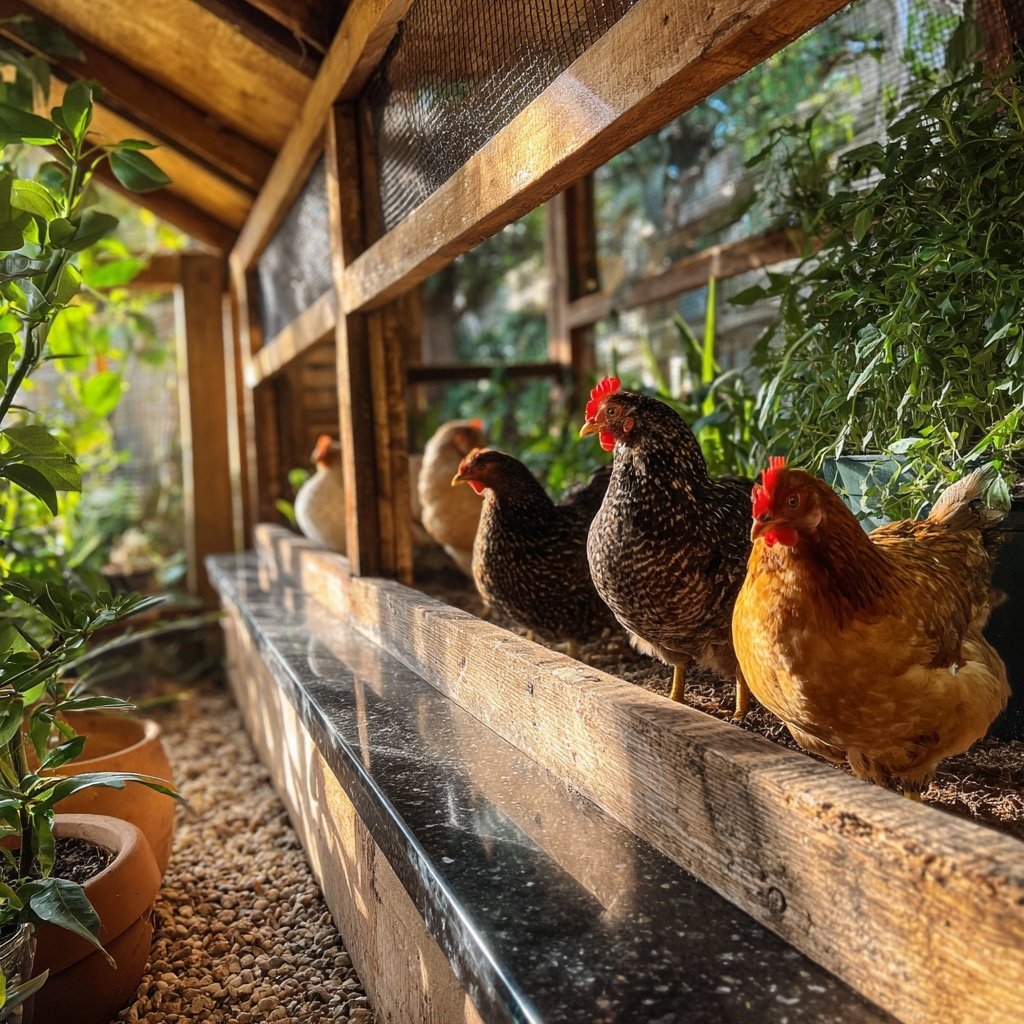
When I decided to build a secure chicken run enclosure, I wanted something that wouldn't just keep my chickens safe from predators but also allow them to enjoy the outdoors freely. I spent time researching materials and considering the best layout for the space. Ultimately, I learned that using sturdy fencing combined with an overhead netting creates a fortress that keeps potential threats at bay while giving my chickens room to stretch their legs.
One tip I found especially useful was to incorporate a roof on the run; this prevents not only aerial attacks but also keeps my chickens protected from harsh weather. After constructing the enclosure, seeing my chickens comfortably pecking around made it all worthwhile. It's a rewarding project that nurtures both their well-being and my love for these delightful birds.
Why You'll Love This Project
- Provides a safe haven for your chickens to roam freely
- Enhances the aesthetic of your backyard with a thoughtful design
- Gives you a sense of accomplishment and satisfaction in building something for your pets
Choosing the Right Materials
When building a secure chicken run, the choice of materials can greatly impact its strength and longevity. Heavy-duty chicken wire is essential for preventing predators from accessing your flock, while wooden posts provide the sturdy framework needed to support the structure. I recommend using pressure-treated wood for the posts to resist rot and extend the life of your run. Ensure that the wire is at least 1 to 2 inches thick and check for any bends or weaknesses that could potentially allow a predator to break through.
Another crucial component is the overhead protection. Whether you opt for roof netting to keep birds of prey at bay or plywood for added shelter during inclement weather, the installation should be both secure and tight. A well-installed roof not only protects your chickens but also minimizes stress for you, knowing they are safe from aerial threats. Consider how your chosen material will withstand your local weather conditions, as extreme rain or strong winds can pose additional risks.
Planning Your Design
Before diving into the construction, take the time to carefully plan the layout of your chicken run. Measure the area accurately to ensure ample space for your chickens to roam comfortably. A good rule of thumb is to provide at least 10 square feet per bird. Mark the designated area clearly with stakes or chalk to visualize where each post will go and ensure an even spacing that aligns with your design.
Incorporating features such as a shaded retreat or dust bathing area can enhance the comfort of your chickens. If you want to add wooden planks for flooring, plan for ventilation under the planks to keep the area dry and reduce odors. Also, think about how you will access the run for cleaning and for securing the chickens at night. A well-thought-out design minimizes future modifications and maximizes both functionality and aesthetics.
Ingredients
Gather the following materials to get started:
Materials
- Heavy-duty chicken wire
- Wooden posts
- Wire cutters
- Wood screws
- Staples
- Roof netting or plywood
- Hinged door
- Wooden planks for flooring (optional)
Ensure you have all the tools ready before starting the build.
Instructions
Follow these steps to construct your chicken run enclosure:
Plan and Measure
Decide on the dimensions for your chicken run based on the number of chickens you have and the space available in your yard. Mark out the area clearly to visualize the setup.
Dig Post Holes
Using a post hole digger, create holes for your wooden posts at intervals according to your design. Ensure they are deep enough for stability.
Install Wooden Posts
Insert wooden posts into the holes and secure them with concrete or dirt. Ensure they are upright and evenly spaced.
Attach Chicken Wire
Unroll the chicken wire and attach it to the posts using staples. Make sure to pull it tight to avoid any gaps.
Add Overhead Protection
Install the roof netting or plywood over the enclosure to protect against birds of prey and harsh weather. Secure it well to avoid sagging.
Create a Door
Cut a section of the chicken wire for a door and attach a hinged door for easy access. Ensure it opens outward for convenience.
Finish Up
Add flooring if desired and ensure there are no sharp edges or protruding wires. Give your new chicken run a thorough inspection.
Once completed, introduce your chickens to their new home!
Pro Tips
- Make sure to check the stability of your run regularly and always look for any signs of wear or potential weak points that could compromise security.
Construction Tips
As you dig post holes, make sure they are at least 2 feet deep to provide stability against strong winds and digging predators. If the ground is particularly rocky or hard, consider using a post hole digger with a larger blade. Placing the posts in concrete is recommended for extra durability, especially in areas prone to high winds or heavy rain. Allow the concrete to cure fully before attaching the chicken wire to ensure everything holds solidly.
While attaching chicken wire, use a staple gun for quick and efficient securing, ensuring the wire is taut to prevent sagging or holes where unwanted animals might gain access. My tip is to pull the wire tight while you staple it to prevent gaps from forming over time. If you draft in some extra help for this step, it can turn into a fun backyard project where you can all share ideas and enjoy a warm day outdoors.
Finishing Touches
Once the enclosure is constructed, ensure that there are no sharp edges or exposed wires that could harm your chickens. After a thorough inspection, consider painting or treating the wood with a chicken-safe sealant to protect it from the elements. This can add an extra layer of safety and prolong the lifespan of the materials you’ve used.
If you decide to add flooring, use wooden planks that are treated for outdoor use to prevent decay. You can also look into using gravel or sand, which can provide good drainage and is easier to clean. Don’t forget to include a water source and a feeder within the run to keep your chickens happy and hydrated without having to let them roam free every time.
Questions About Recipes
→ How big should my chicken run be?
A general rule is to provide at least 10 square feet of space per chicken. However, the more room you can provide, the better.
→ What materials are best for building a chicken run?
Heavy-duty chicken wire is ideal for the walls, while wooden posts provide a strong frame. For the roof, you can use netting or plywood.
→ How can I protect my chickens from predators?
Ensure your run is fully enclosed with no gaps and consider adding a roof. Regular inspections help to catch any potential weak points.
→ Can I build a chicken run without a roof?
While it is possible, a roof adds essential protection against aerial predators and harsh weather. It’s highly recommended to include one.
Secure Chicken Run Enclosure
Created by: Rhiannon Sutherland
Recipe Type: Local Kitchen
Skill Level: Beginner
Final Quantity: 1 enclosure
What You'll Need
Materials
- Heavy-duty chicken wire
- Wooden posts
- Wire cutters
- Wood screws
- Staples
- Roof netting or plywood
- Hinged door
- Wooden planks for flooring (optional)
How-To Steps
Decide on the dimensions for your chicken run based on the number of chickens you have and the space available in your yard. Mark out the area clearly to visualize the setup.
Using a post hole digger, create holes for your wooden posts at intervals according to your design. Ensure they are deep enough for stability.
Insert wooden posts into the holes and secure them with concrete or dirt. Ensure they are upright and evenly spaced.
Unroll the chicken wire and attach it to the posts using staples. Make sure to pull it tight to avoid any gaps.
Install the roof netting or plywood over the enclosure to protect against birds of prey and harsh weather. Secure it well to avoid sagging.
Cut a section of the chicken wire for a door and attach a hinged door for easy access. Ensure it opens outward for convenience.
Add flooring if desired and ensure there are no sharp edges or protruding wires. Give your new chicken run a thorough inspection.
Extra Tips
- Make sure to check the stability of your run regularly and always look for any signs of wear or potential weak points that could compromise security.
Nutritional Breakdown (Per Serving)
- Calories: 0 kcal